Framework Laptop 13 Deep Dive - Creating a custom high-resolution display

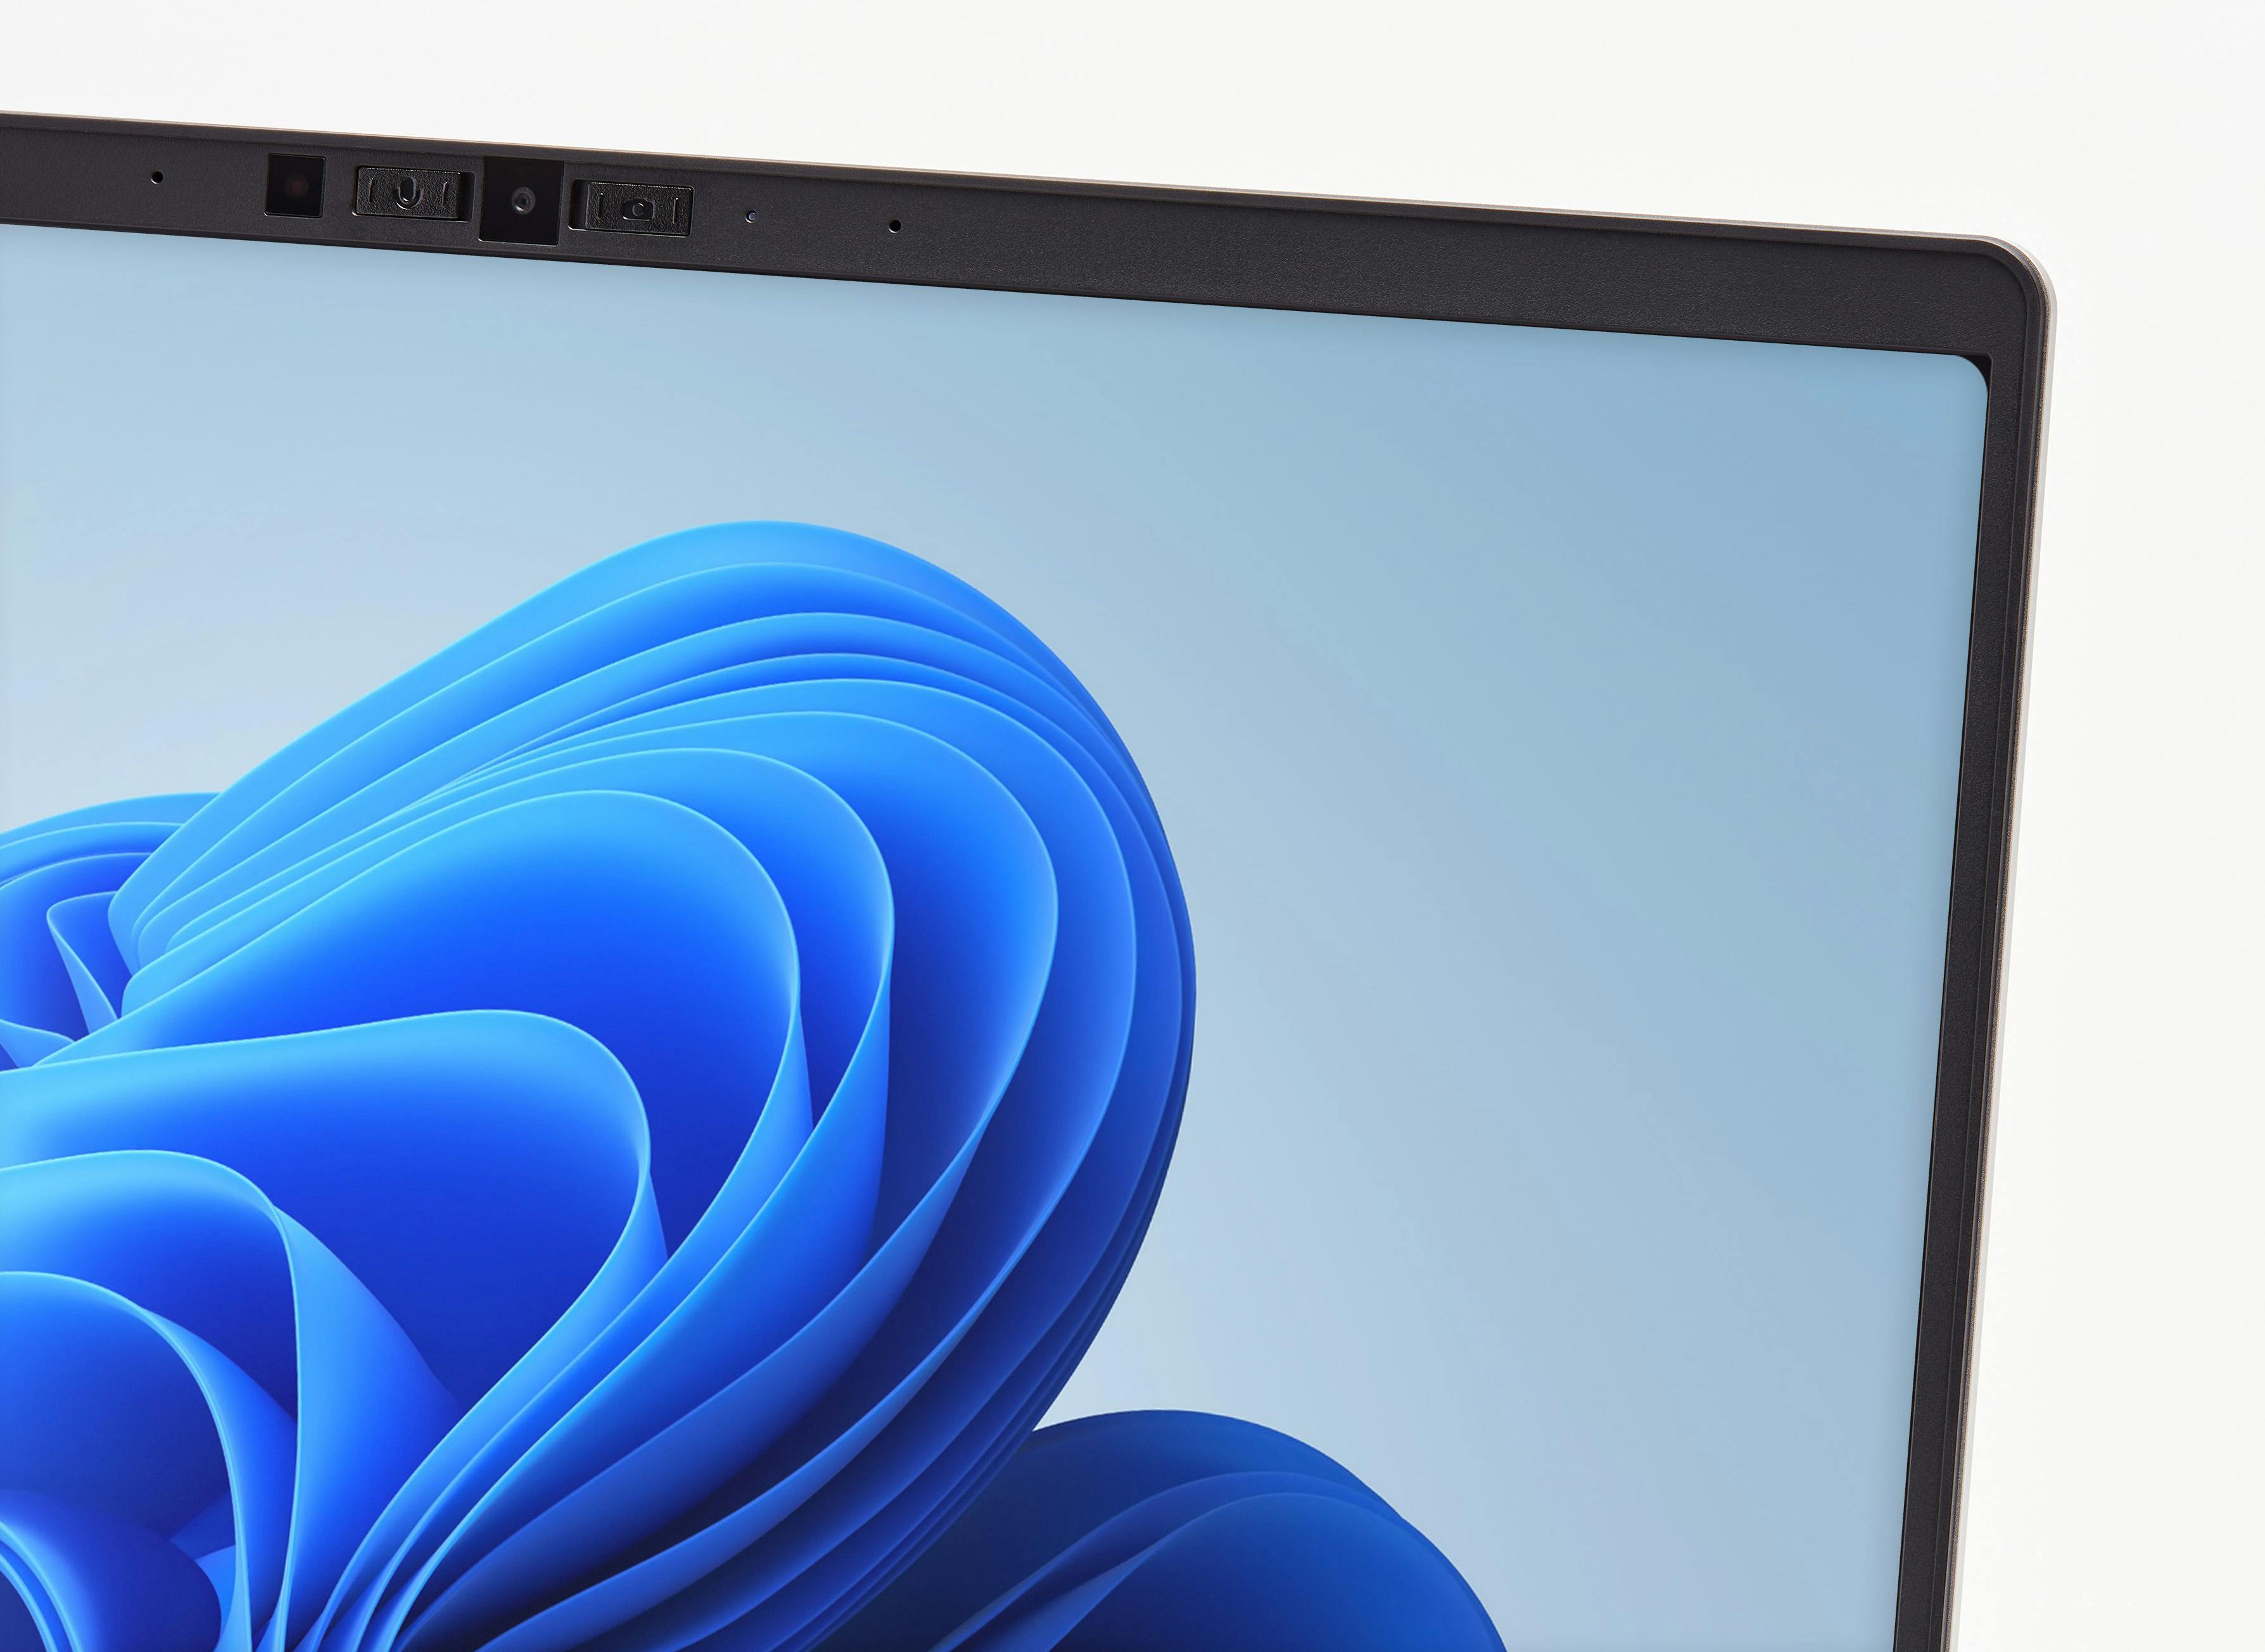
Along with the launch of our latest generation Framework Laptop 13, we announced a new higher-resolution 13.5” display option available on both AMD and Intel-powered DIY Edition configurations. We custom developed this display with our panel partner BOE to improve over our already-great default version. Resolution is increased from 2256x1504 to 2880x1920, which is an amazing 256 PPI. In addition to resulting in sharper text rendering, this resolution is perfect for 2:1 scaling, which is especially convenient for Linux. Brightness goes up from 400 nit to 500 nit, matching what we have on Framework Laptop 16 and making usage in bright daylight excellent. Refresh rate goes from 60Hz to 120Hz with support for variable refresh rate and gray-to-gray rise+fall response time drops to 12ms, enabling smooth scrolling and cursor movement along with an improved gaming experience. We’ve kept the same 3:2 aspect ratio, 1500:1 contrast, 100% sRGB color gamut, and matte anti-glare surface, making this an all-around solid panel for productivity. There is one part of the display that is a slight step backwards from the original though, which is that the corners of the active area are rounded (the top corners with a 3mm radius and the bottom ones with 1mm). You’re probably wondering why we would do such a thing. To explain why, first, we’ll go through the process of manufacturing a display.
Display manufacturing is split into two major segments that are called the “front end process” and the “back end process”. In the front end process, giant sheets of very precisely prepared glass substrate go through a thin film transistor (TFT) process using patterning masks that are custom to each display design. The TFT layer forms the actual electrical functioning of each pixel. Then, the full sheet of multiple displays goes through color filter array and liquid crystal processes that apply the optically functional parts of each pixel. After that, the large substrate is cut into individual panels, which go through the back end process, sometimes in a separate facility. In the back end process, the flex circuit board that the interface chip is on is bonded to the glass and the backlight is integrated. The finished panel is then packed out and sent to our laptop factory.
![]()
The earlier processes are substantially more expensive to customize than the later processes. Customizing a TFT patterning mask set for example requires a colossal up-front investment and a sizable minimum order quantity, while customizing the backlight or the final shape of the mechanical module is simpler and cheaper. Going back to our display, we found a panel that BOE was designing for another customer with rounded corners that fit the needs of their product. Rather than paying for our own fully custom panel, we leveraged this existing panel’s mask set (thanks, whichever notebook company paid for this) and customized the back end process to fit the structure we needed for Framework Laptop 13. In addition to supporting our latest generation, we made sure this panel can be swapped into all of our existing Framework Laptop 13 models, going back to the original 11th Gen version from 2021.
You can pick up the new display now as a pre-order option on our latest Intel and AMD Framework Laptop 13 DIY Edition configurations, and you can also pre-order the display module on its own in the Framework Marketplace. We’re looking forward to seeing what you think of it!